Using Visual Studio Code with Ruby on Rails
Microsoft recently released Visual Studio Code for Windows, Linux and Mac.
This is a guide on how to get setup with a similar configuration to sublime/atom while having features like autocomplete, code linting with rubocop and syntax highlighting.
Visual Studios strong points:
- Handles large files very well
- Insanely fast IntelliSense
- Debug code right from the editor with break points, call stacks, and an interactive console.
- Git initegration
- Extensible and customizable
- Supports many different languages
- Preview or jump to definitions
Let’s start by installing some extensions:
- ‘erb’, Syntax Highlighting for ERB files
- ‘Ruby Language Colorization’, Adds support for Ruby colorization
- ‘ruby-linter’, An extension to use built in ruby linting
- ‘ruby’, Provides ruby language and debugging support
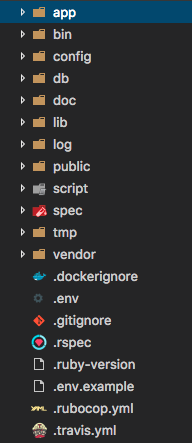
- ‘vscode-icons’, Adds pretty icons to your sidebar to help identify file types
Add the following into your User Settings file:
{
    "editor.tabSize": 2, // Set tab size to 2, defaults to 4
    "editor.rulers": [80], // Try to keep lines under 80
    "editor.fontSize": 12,
    "files.trimTrailingWhitespace": true,
    "telemetry.enableCrashReporter": false,
    "explorer.workingFiles.dynamicHeight": false,
    "explorer.workingFiles.maxVisible": 3,
    "ruby.lint": {
        "reek": true,
        "rubocop": true,
        "ruby": true,
        "fasterer": true,
        "debride": true,
        "ruby-lint": true
    }
}
Now we need to install some gems into your default ruby, I use rbenv with rbenv global set to 2.3.1.
sudo gem install rubocop
sudo gem install ruby-debug-ide
sudo gem install debase
Now restart Visual Studio Code it should hopefully look like the below screenshots:


Go Further:
If your feeling brave you can write your own extensions in JavaScript or TypeScript read more about that here - Extending Visual Studio Code.